DIY Wood Art Project in our Skoolie!
Welcome back, friends!

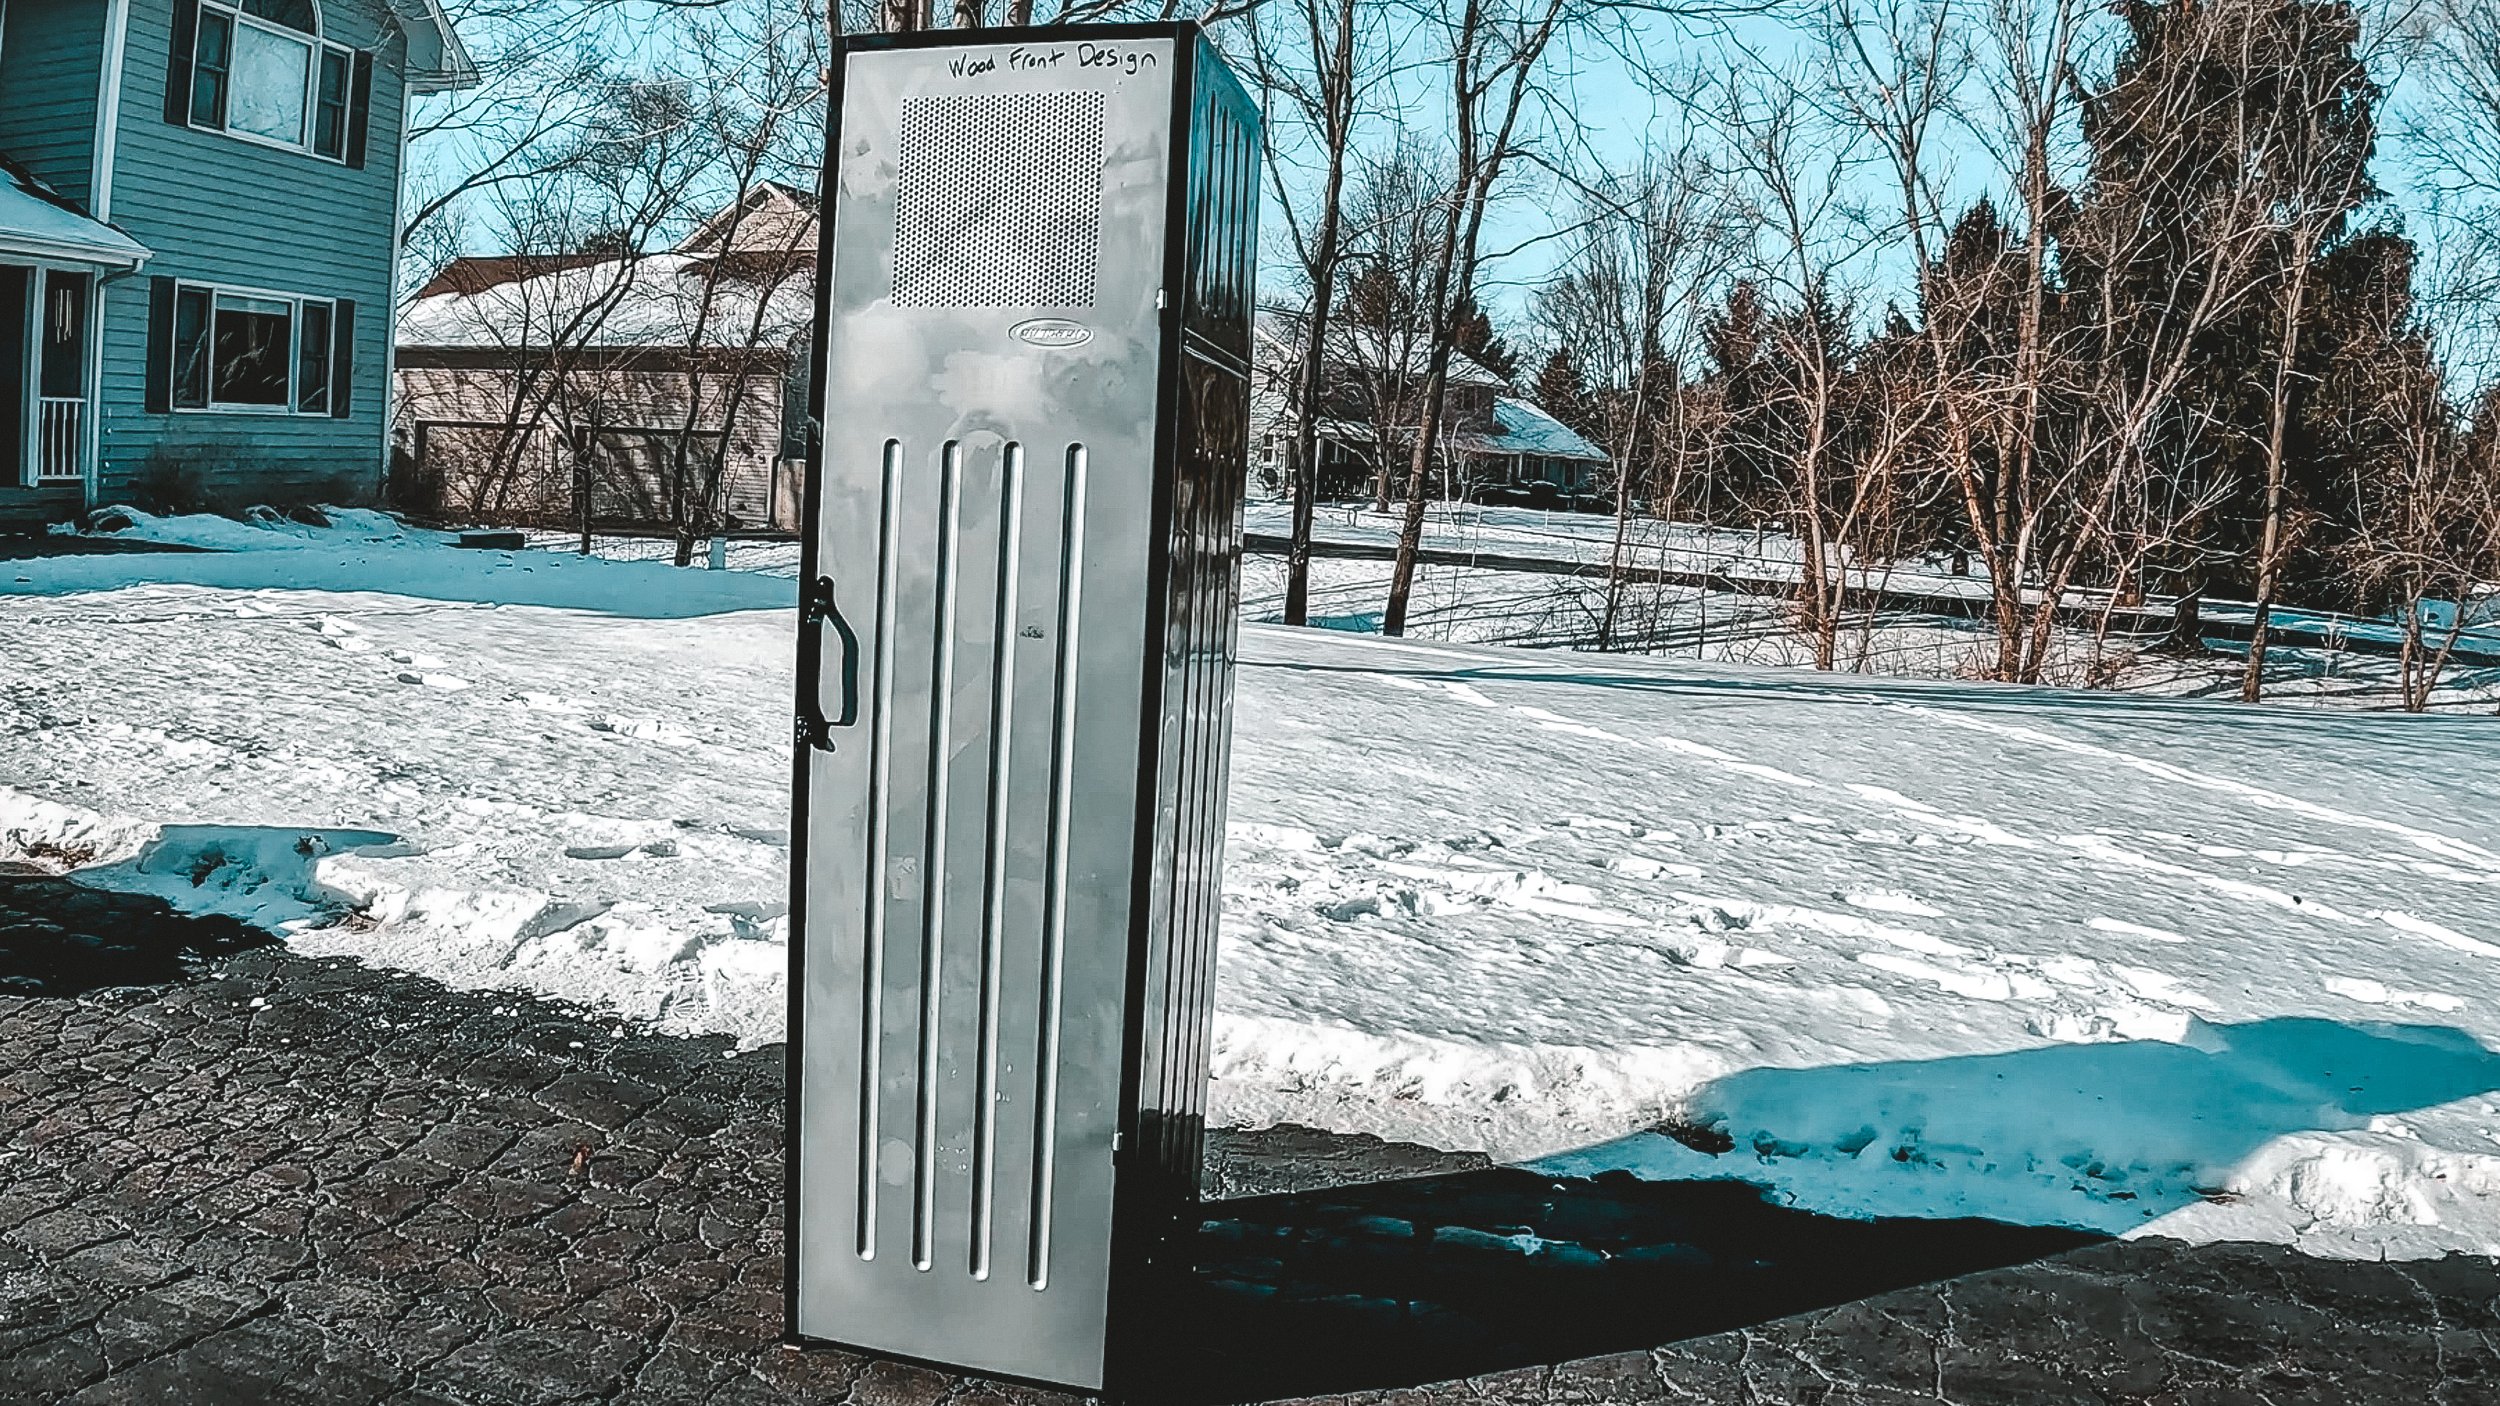
This week we have been hard at work on a beautification project for one of our Facebook Marketplace finds. Brandi found an old locker that was perfectly suited for our tiny home storage needs, but not so perfect in terms of aesthetic. The exterior of the locker was covered in a melange of skateboarding stickers and ugly silver paint. It simply had to change!
Brandi came up with a brilliant, cost-effective solution to turn our $10 locker into a functional work of art: wood art! We have collected a ton of scrap wood during our various build projects on the bus, and repurposing it for a different part of our tiny home was a win-win for us.
Beyond how cool wood art looks, what we love about it is how accessible it is for most people. You can do this without much experience in woodworking or other crafts, and it is a great way to add some artistic flair to any part of your home or workspace.
Here is a general step-by-step process for how we made our wood art project come to life! If you are a visual learner, be sure to check out our YouTube video above for some tips, tricks, and additional things that we would do differently on this project. Without further ado, the process is as follows:
Step 1: Choose the board sizes that you will use for the wood art. We used 1”x3”x8’ boards on our project, and they worked out wonderfully! To make the project go quicker, simply use larger boards.
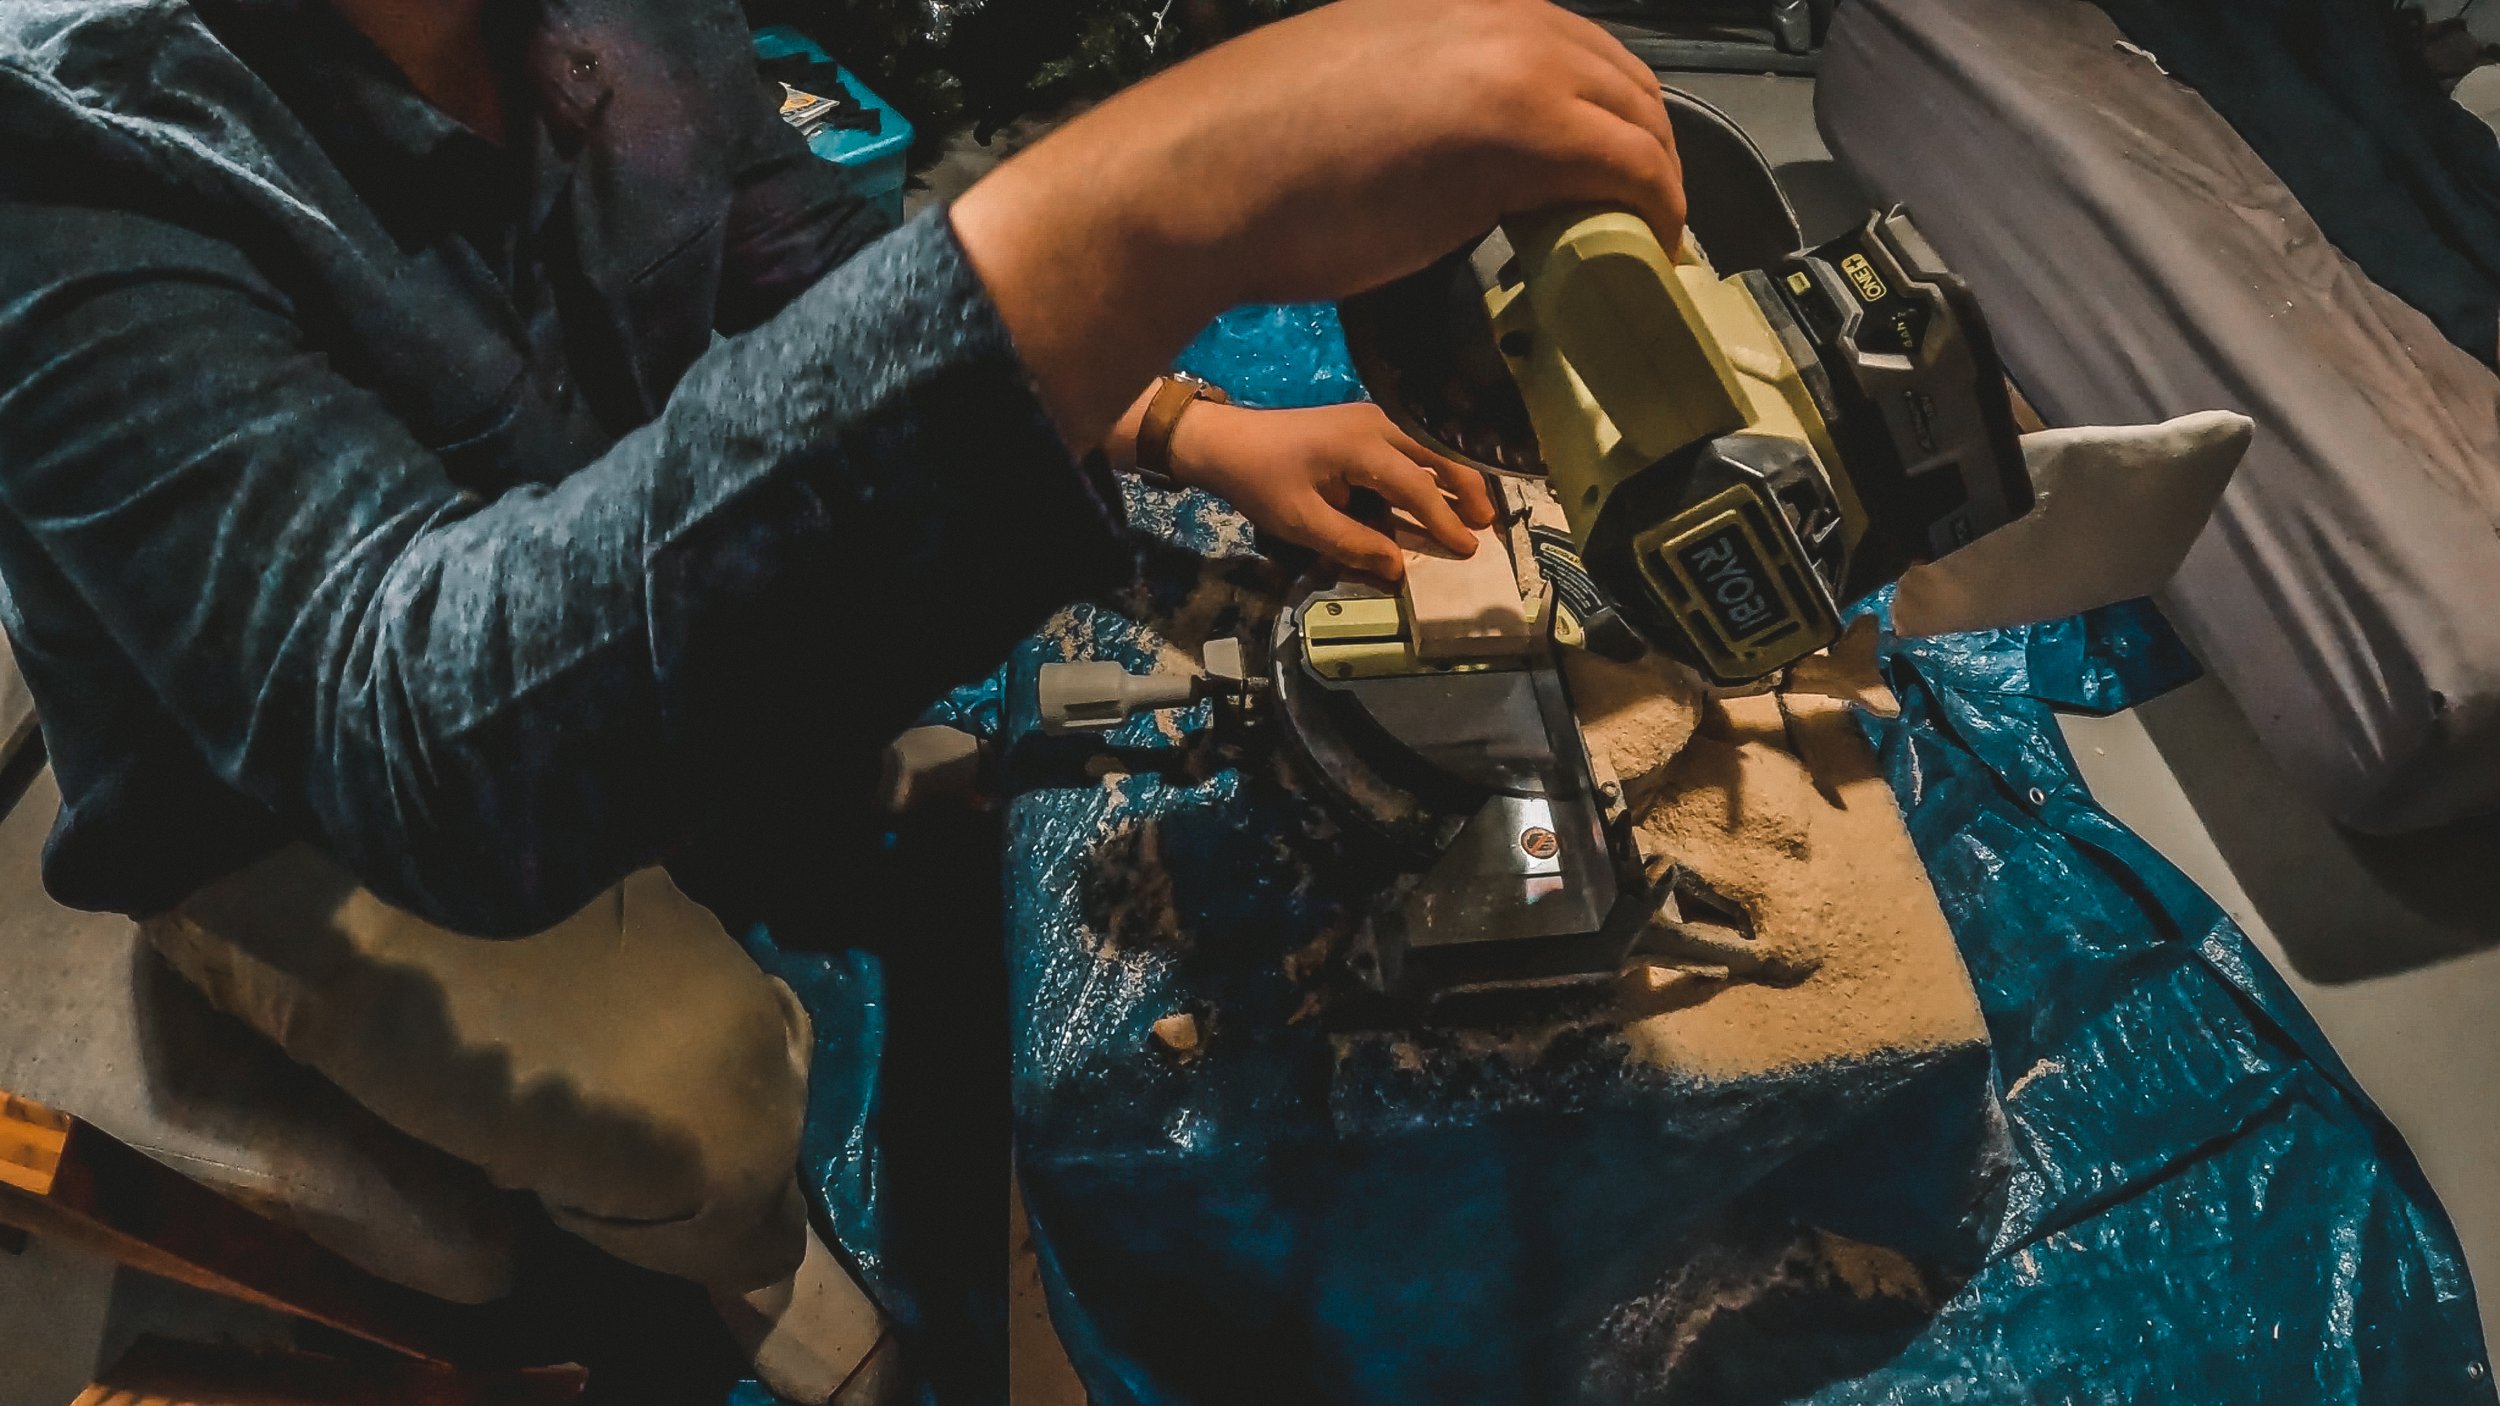
Step 2: Cut the boards into many smaller pieces. We chose to cut our boards across their width into pieces ranging anywhere from ⅛” to ⅜” in depth. This left A TON of tiny wood pieces for us to sand, paint, and glue to our final piece (569 pieces to be exact!). You absolutely don’t have to cut your pieces this small - it makes a ton of sense to rip the boards and have longer, thinner pieces.
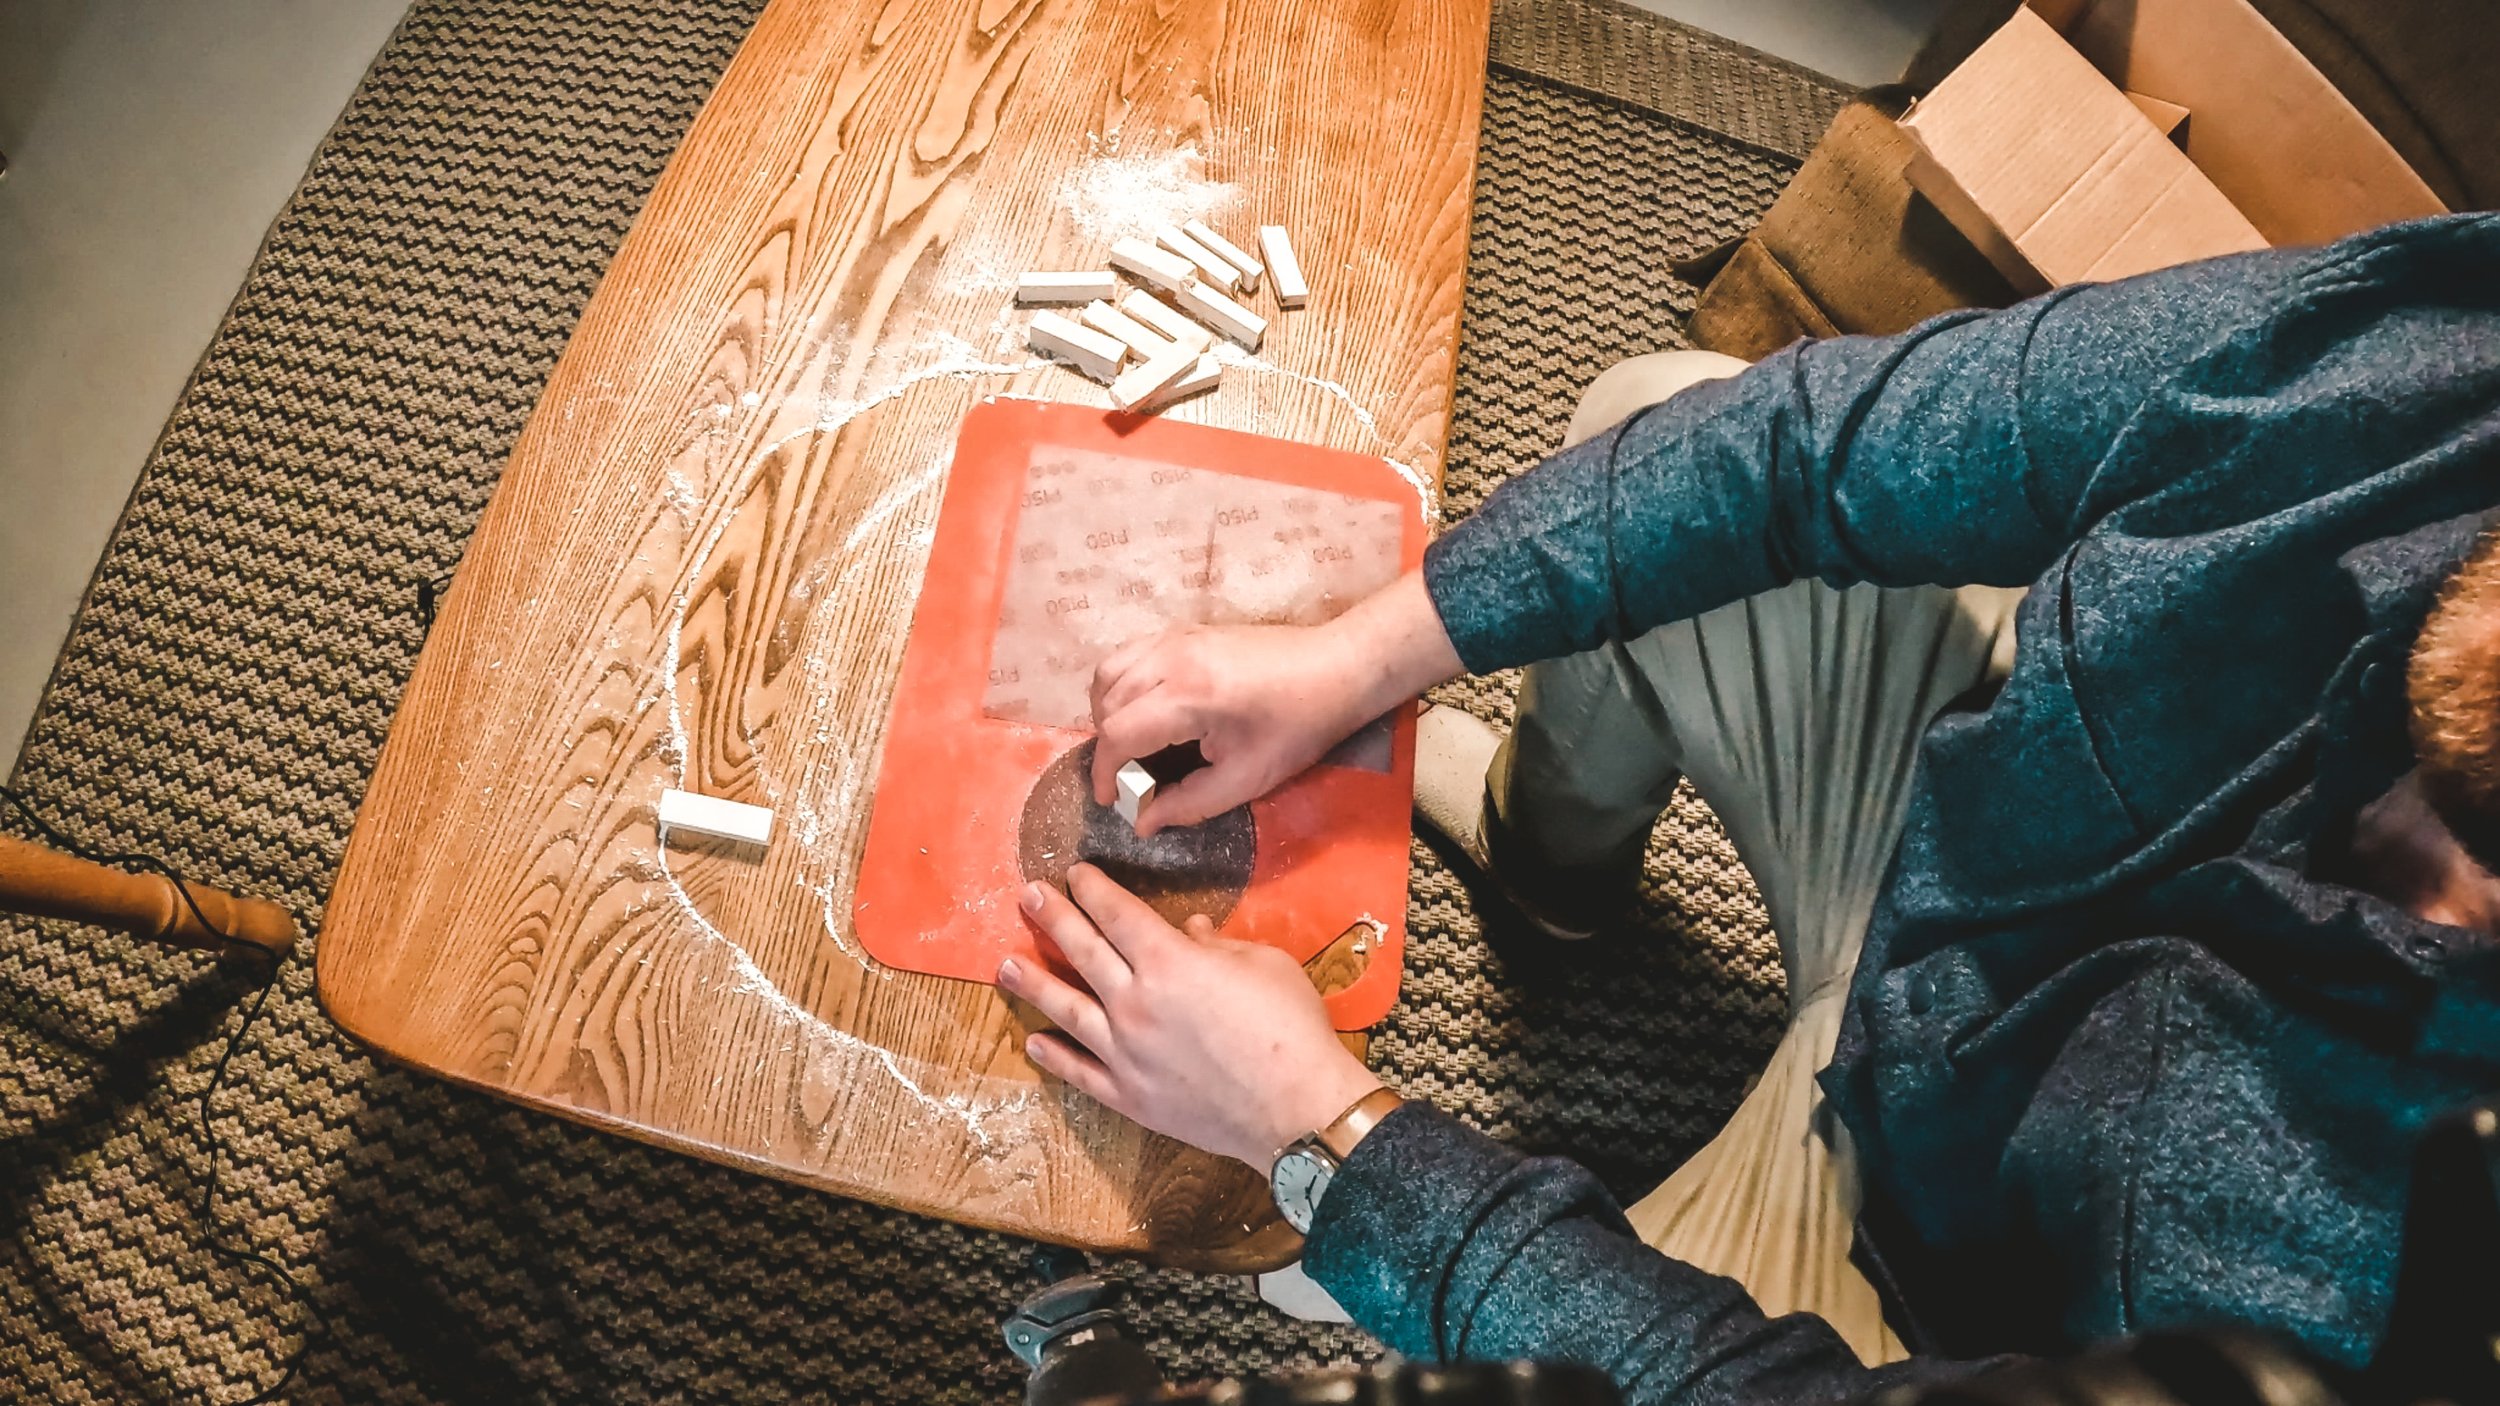
Step 3: Use 220 grit sandpaper to smooth out every side of each freshly-cut wood piece. This is especially important if you plan on painting all the pieces. Pro tip: use a belt sander or random orbit sander to save your hands from a load of abuse!
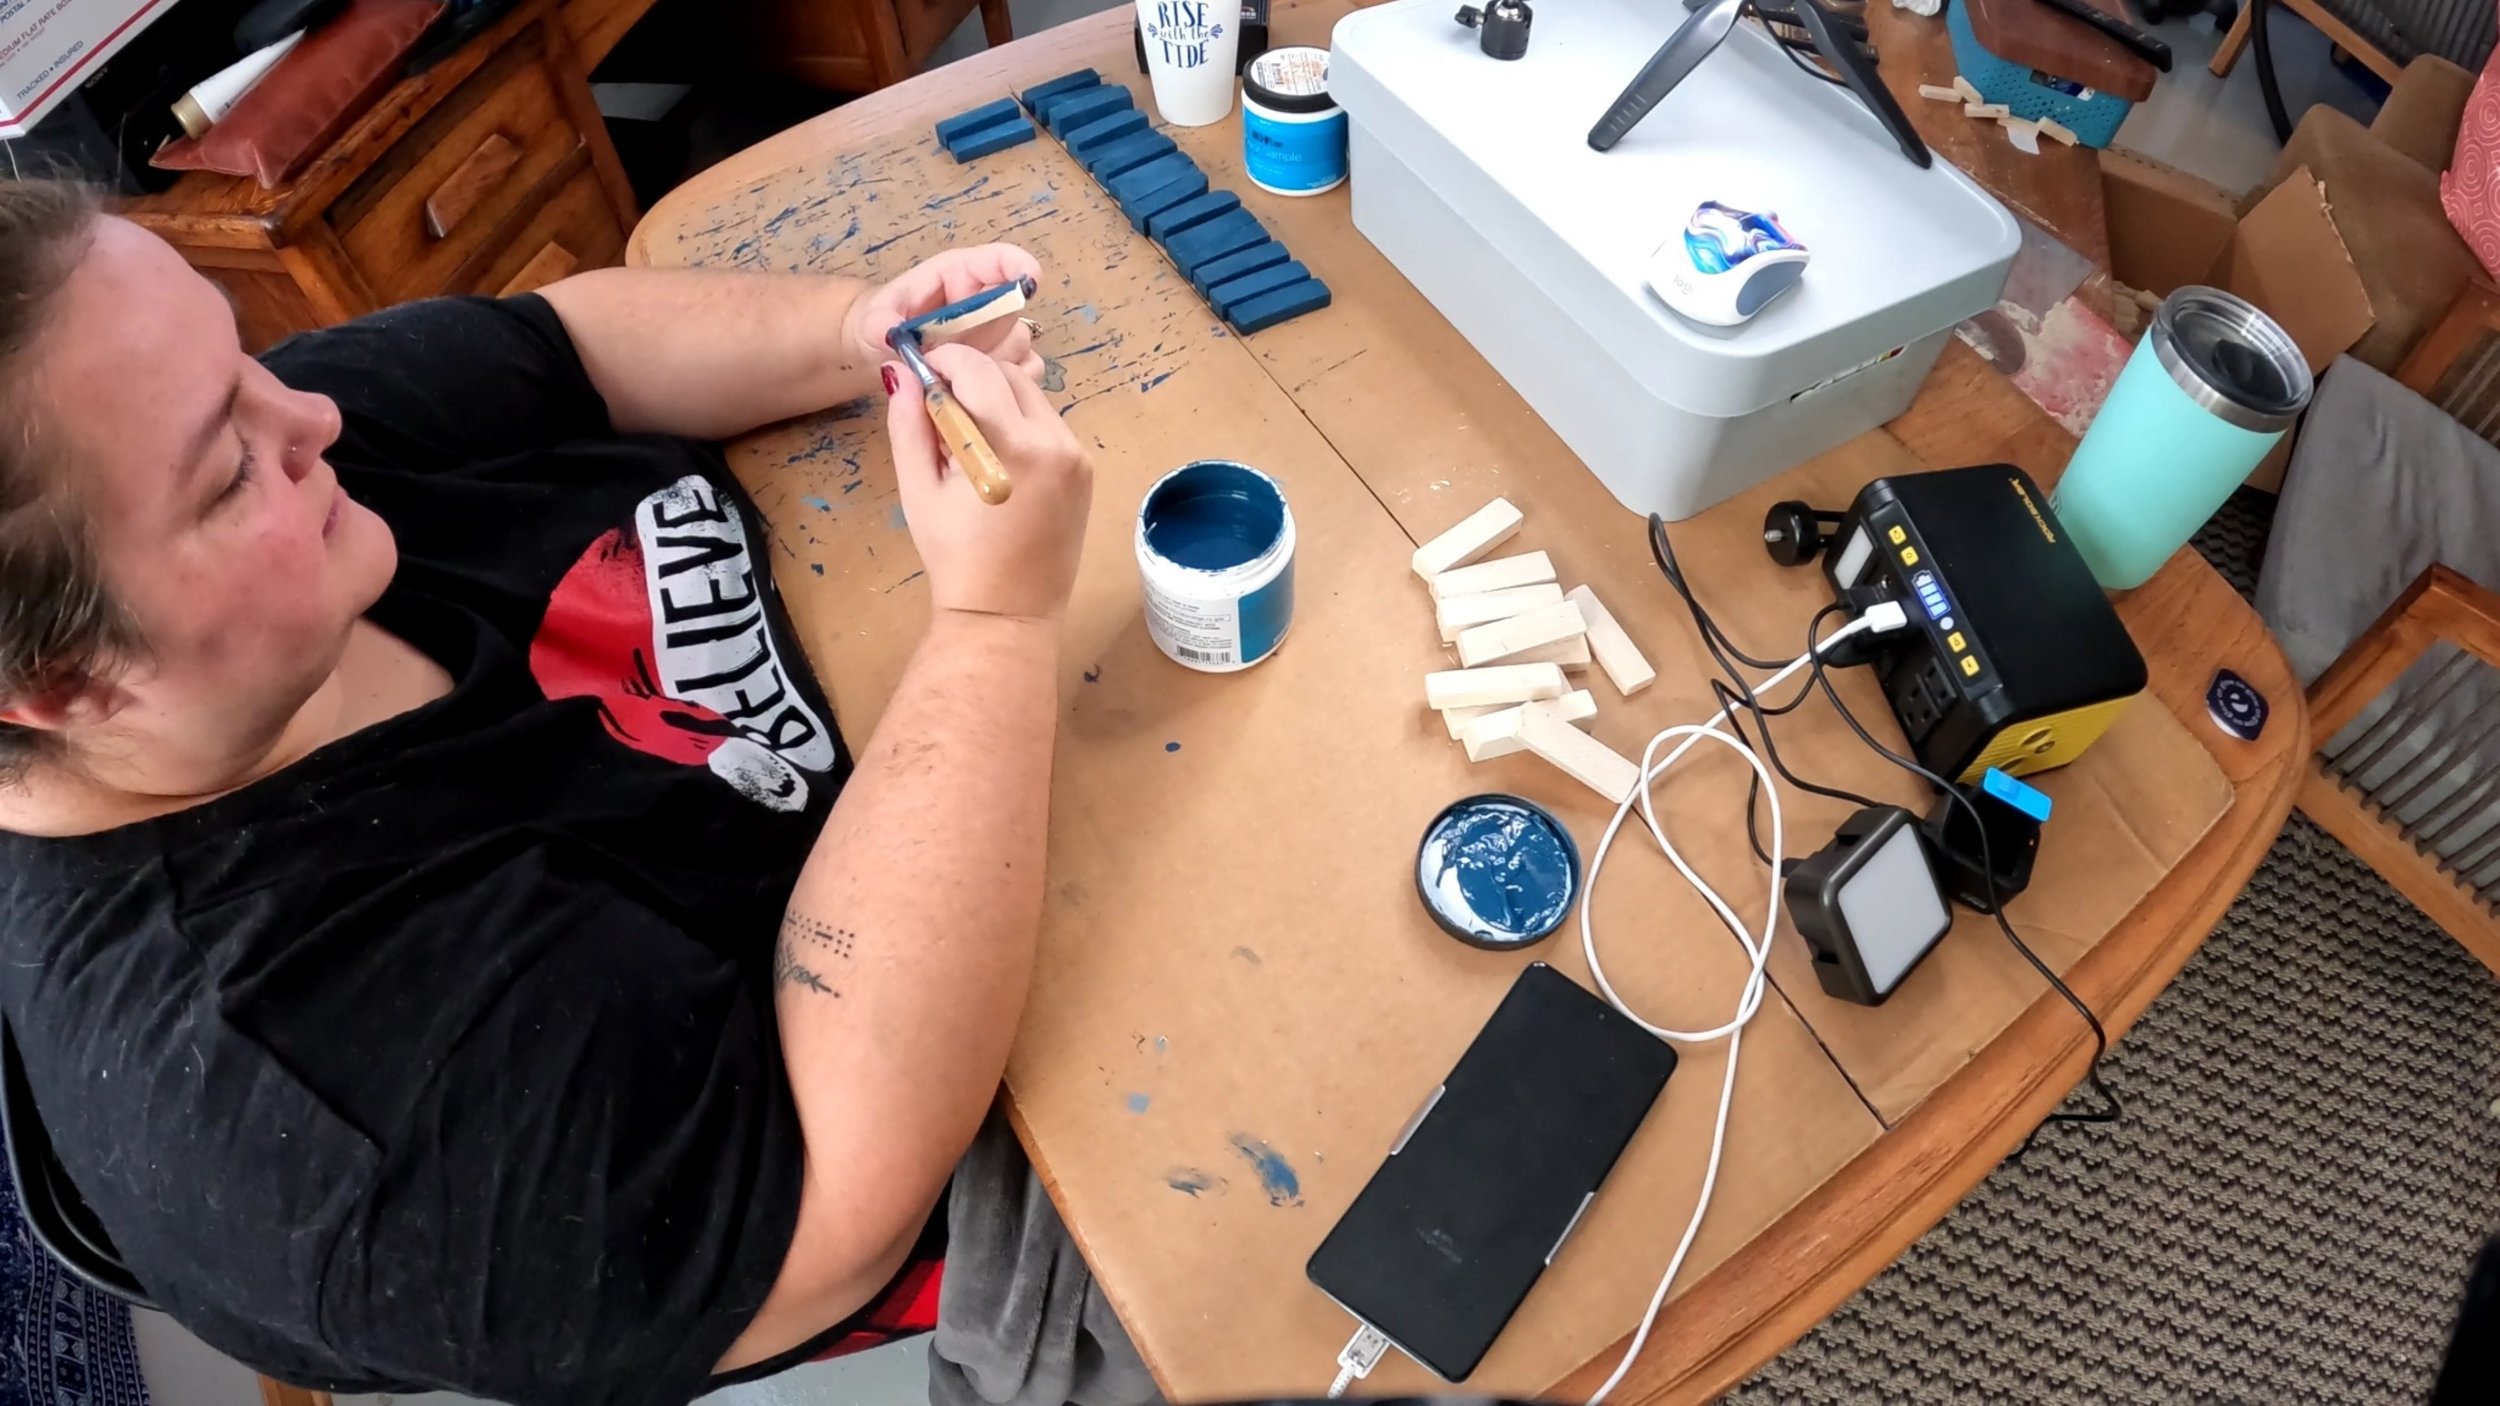
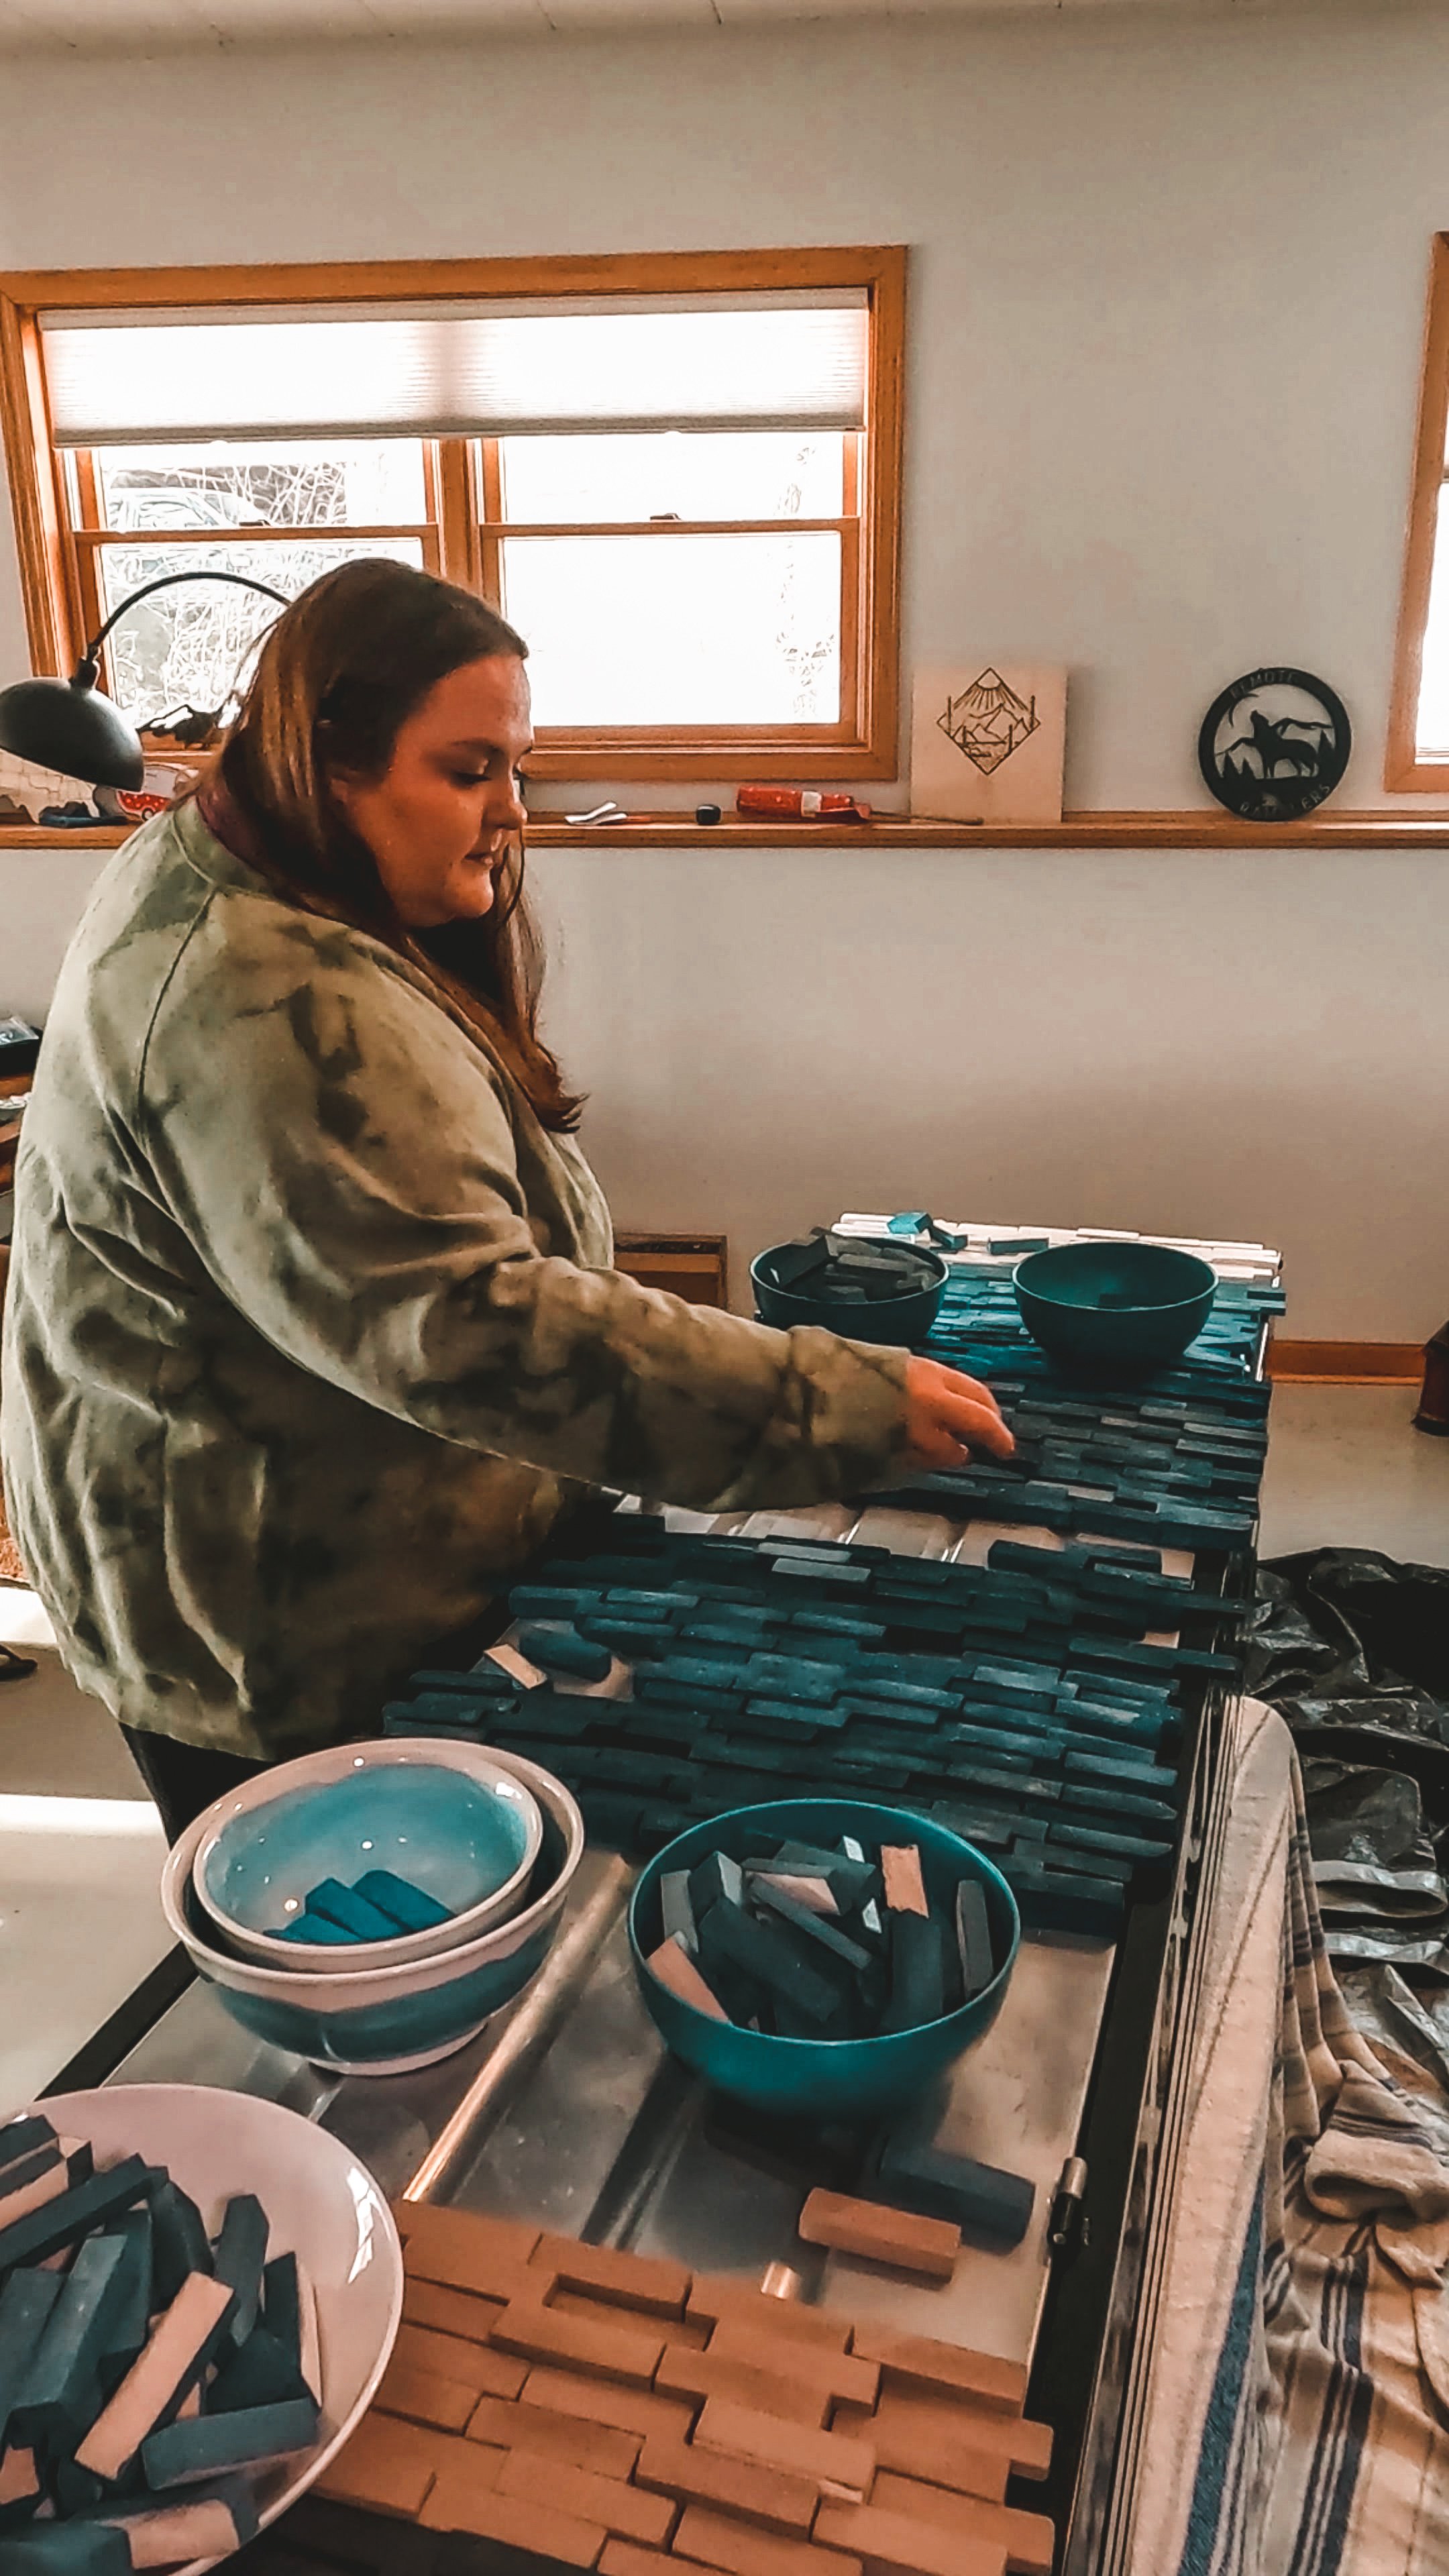
Step 4: Decorate your pieces in whatever way you see fit! We used several different colors of leftover paint we had sitting around and divided up our total number of pieces into different paint color groups. There are so many other good ways to give your pieces some pizzazz, such as applying different colors of wood stain or using a wood-burning torch to create unique burn patterns on the wood grain. We hand-painted all 569 pieces and it took ages, next time we will speed up the process by spray painting.
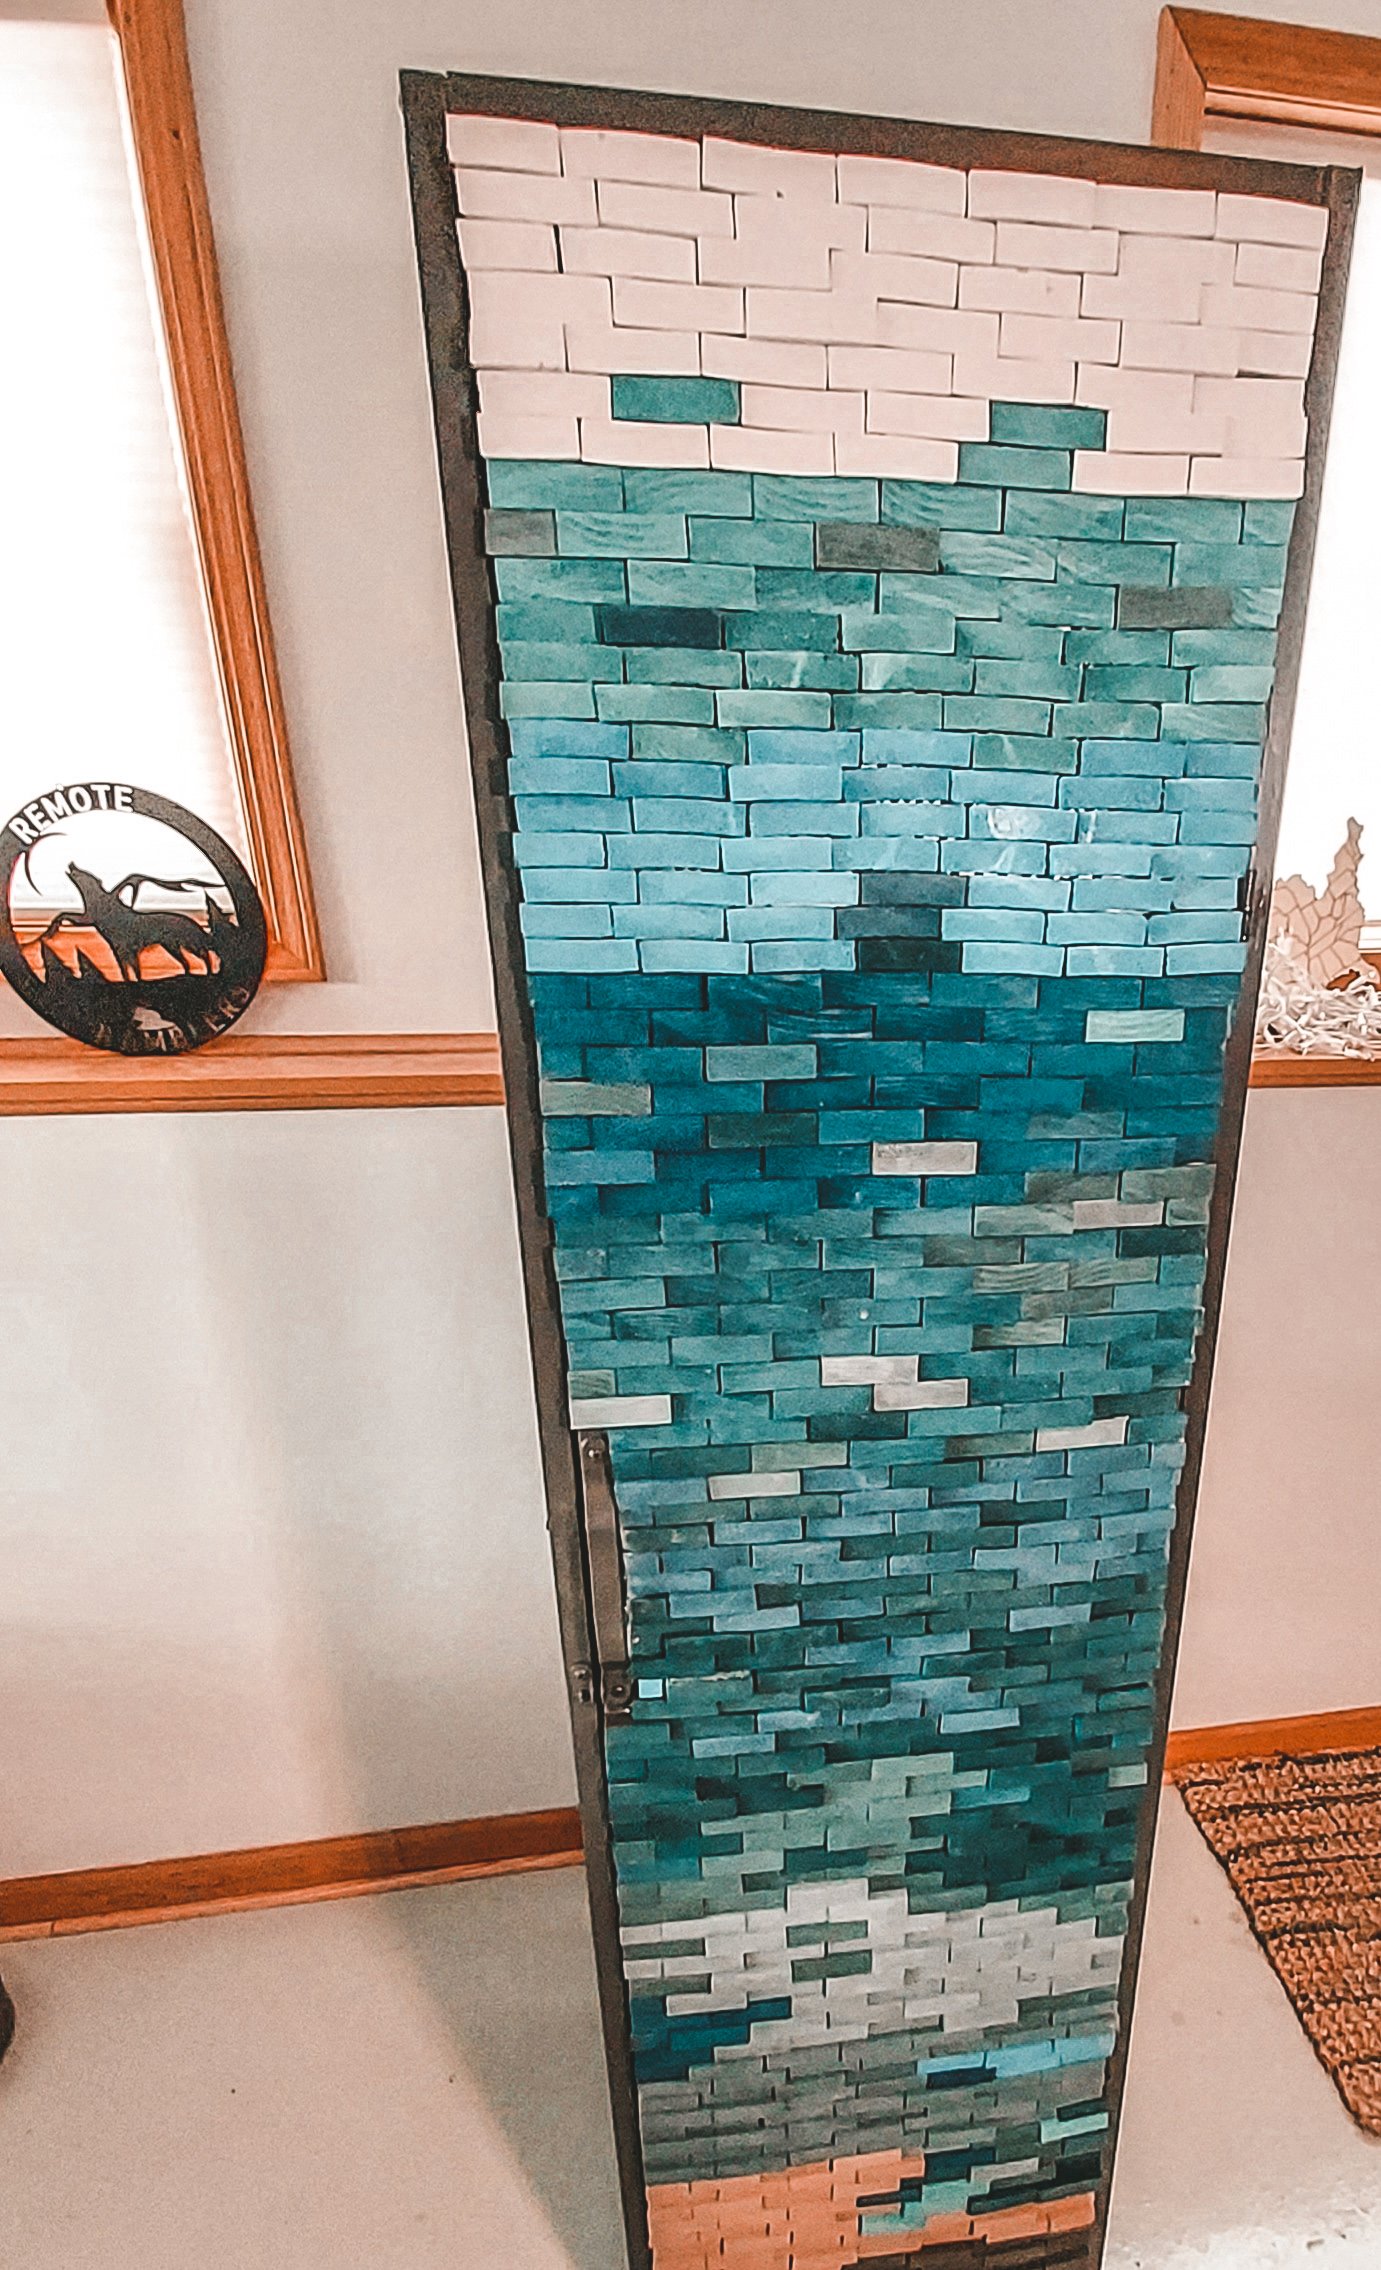
Step 5: Arrange your wood pieces on the surface they will be permanently attached to. We attached our wood art directly to a locker, but you could use this design technic for walls, tables (with resin overlay) and so much more. Play around with the design and organization of the pieces until you are satisfied with the overall pattern and look of the cohesive wood art piece.
Step 6: Attach the wood pieces to their final positions. We used Liquid Nails to secure our wood pieces to the front of a steel locker, and it worked splendidly! If you are working with bigger wood pieces and/or attaching your pieces to a sheet of plywood, a nail gun in addition to liquid nails is advisable. Simply glue your pieces onto the plywood and then shoot the nails from the back of the plywood into the pieces once the glue has fully dried.
Step 7: Trim off any wood pieces that extend over the edge of the surface they are attached to. For us, we had to make sure that our pieces fit within the confines of the locker door they were on so that we would be able to easily open and close the door.
Step 8: Lightly sand the newly cut edges of the wood pieces and decorate them in the same fashion as before.