Upholstered Chair Renovation: DIY Glow Up!
Happy Sunday, Friends!
We are off to a hot start this year with knocking out our New Year’s goals! One of our goals was to do something on the bus every day, and this week we set out to give some glam to an old RV recliner chair that was in need of some TLC.
We picked up two of these awesome recliners in Indianapolis after finding them on Facebook Marketplace for only $50! They are an absolutely perfect fit for the reading nook that we have planned for the school bus. Not only are they super comfortable, but they also rock in any direction and can rotate 360°.
The only thing we did not love about them was the original factory color. As you can see in the pictures, the chairs were originally a deep tan color; that simply does not work with our other design features and color schemes! After some light YouTube research, we discovered an effective method for painting the chairs. We wanted to share our process with you below - it is such a good way to turn some drab old furniture into something eye-catching!
Project Supply List


-a paintbrush (can be any variety or quality)
-fabric softener
-interior flat paint (your choice of color. The amount of paint needed depends on your piece, we used 1 quart of paint for our chair.)
-a spray bottle
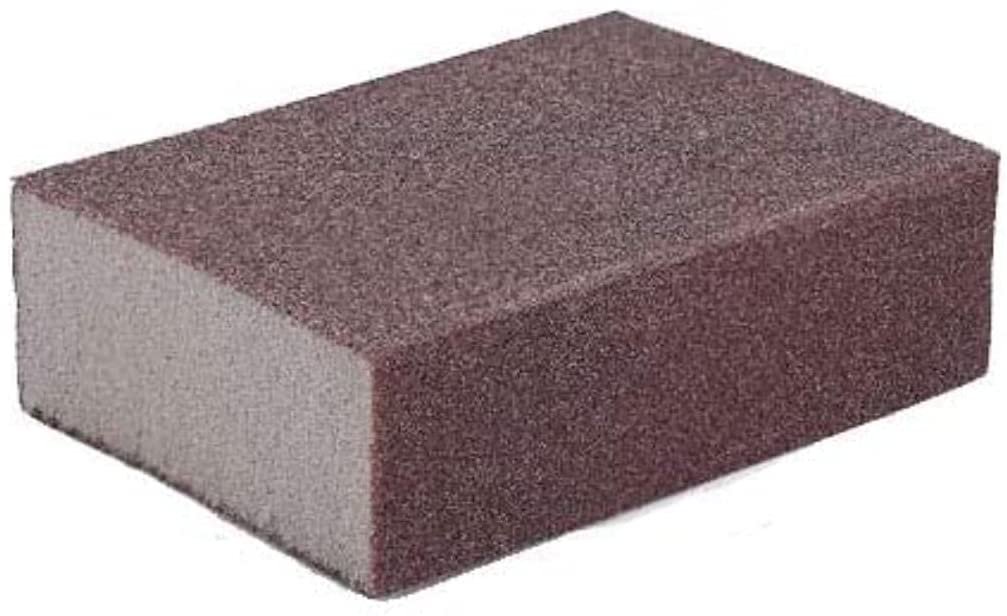
-a fine-grit sandpaper sponge (preferably 220 or 320 grit)
-a tarp
The Painting Process
Step 1: For our chair, we used a quart of paint, ¾ quart of fabric softener, and ½ quart of water. Mix the liquids together in a bucket or other container. Mix or shake well.
Step 2: Before you start painting, prep your painting area. Be sure to lay down a tarp that is large enough to cover any paint splatter or spills that may occur while you paint. When you are ready, set your piece to be painted upon the tarp.
Step 3: Fill your spray bottle with water, and generously spray down the fabric to be painted. It is best to work through in sections so that the fabric doesn’t dry. Make sure the fabric is damp but NOT dripping.
Step 4: Start painting! Be sure to apply to paint generously across the wet fabric. You can brush in strokes to initially apply the paint, then follow up by brushing in a circular motion to help the paint soak into the material. Continue to work section by section until your first coat is completely applied to your piece. (Keep in mind that your first coat will not be perfect - and that is ok!)
Step 5: Once your first coat has dried, take your sandpaper sponge and lightly sand the painted fabric to remove any excess paint that didn’t soak into the fabric. Be sure to do this VERY lightly. A light sanding will also remove any rough texture or stiffness in the fabric that can occur after being painted.
Step 6: Repeat steps 1-6 to apply another coat of paint. For our chair, we only needed to apply two coats in order to achieve the consistency and color that we were looking for. It is possible that you may need to apply three coats to your piece.